

Believe it or not, but you don’t have to start tearing down walls and turn your house upside down to modernize your bathroom! In fact, we’ve echoed this same sentiment more than a few times here on the blog. Simply installing new fixtures, like a faucet or shower head, or even just picking up a new shower curtain can make a bigger difference that you’d think! While our last few plumbing blogs here have either been educational or highlighting large-scale construction projects, this week’s one is going to be more DIY-focused. We’re focusing on all of you aspiring to be DIY-plumbers. On today’s blog, we’ll walk through the process of installing a toilet seat. From the tools you’ll need to the general process, this blog will cover it all!
If you’re new to our blog, welcome! We are a plumbing company based out of North Kansas City, MO. Our team is licensed and trained to handle everything from a routine drain cleaning and water heater installation to extensive design-build construction and much more! You’re more than welcome to check us out on either Facebook or Instagram as well for more behind-the-scenes looks at our various projects! With that said, let’s dive right into this week’s blog post and take a deeper look at installing a toilet seat.
Step #1: Gather Your Tools
First up, you’re going to want to round up all of the tools you’ll need to install the new toilet seat. For this, you’ll need:
- Tape measure
- Set of pliers
- Adjustable wrenches
- Screwdriver
- WD-40
Most homeowners should have just about all of these somewhere around the house, but if that’s not the case, you’ll find them all at any Home Depot or Lowes.
Step #2: Measure Your Existing Toilet Seat
Next on our list, before you head to your local hardware store, you’ll want to make sure you have the correct measurements for the new seat. Measure the width of the toilet bowl in its entirety. Then, measure the distance from the center of the seat bolts out to the front edge of the bowl. For this length, most round bowls are going to come in at 16.5”, while elongated bowls will be 18.5”. Lastly, you’re going to want to measure the space between the seat bolts as well. The standard length on that is said to be around 5.5”. Those three measurements will be all you’ll need to purchase a new seat that fits.
Step #3: Purchase Your Toilet Seat
In terms of finding a place to purchase a new toilet seat, you’re certainly not hurting for options. Any Home Depot, Lowes, Menards, Wal-Mart or Target should have some in-stock. Head over there and find one that fits the overall vibe you’re trying to achieve in your bathroom. Perhaps that means keeping it basic with a white seat on a white toilet? Or maybe you’re looking to change things up and go with contrasting colors? If so, take a look at this Kohler model that comes in 9 different colors. As you’ll see, toilet seats are not really all that expensive and you have a bevy of options to pick from. The best advice I can give is to pick from a reputable and well-known brand. American Standard, Kohler, Delta and Toto are a few that you can’t go wrong with!
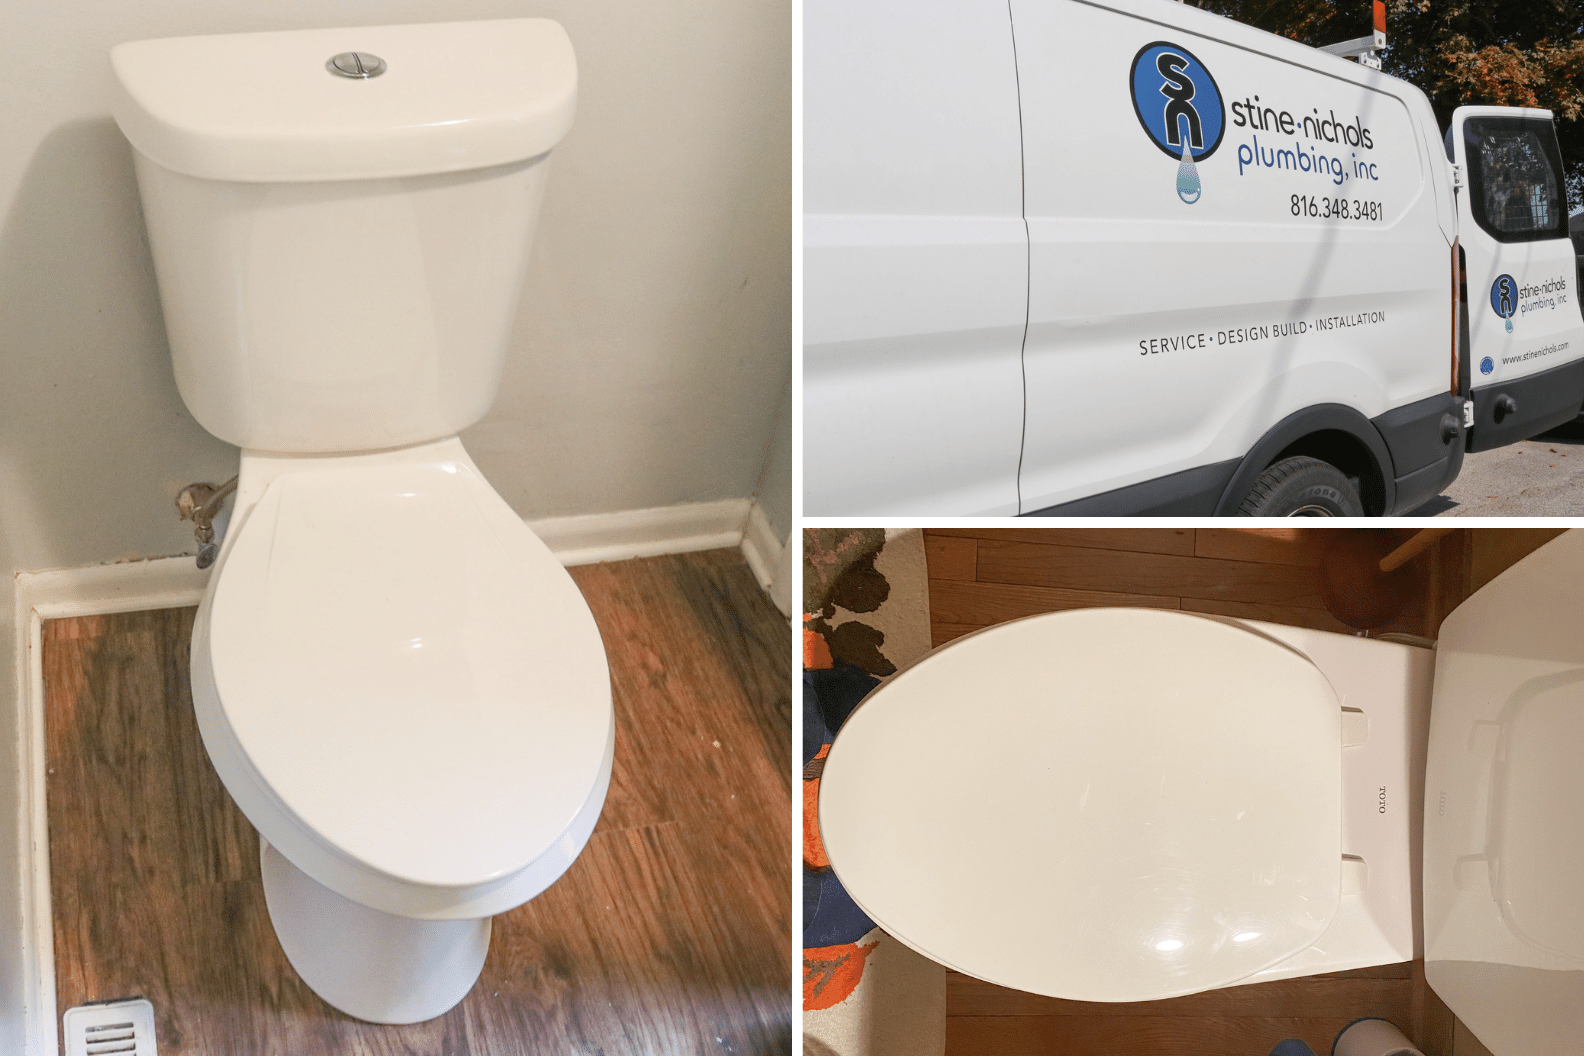
Step #4: Remove Existing Toilet Seat
I’ll preface our next section by saying some old toilet seats may be easier to work with than others. First up, make sure to clean the toilet seat and bowl prior to installing. After that, you’ll want to find the bolts that are attached to the bowl. Most newer models are likely going to have covers you’ll need to pop off first to locate the bolts. On the back of the bowl, you’ll see the nuts attached to the bolts. You may be able to loosen these by hand or use the wrench if needed. Once the bolts and nuts are out, you’ll be able to pull the old seat right off.
As I mentioned at the start of this section, some toilet seats are going to be a little bit tougher than others! For these, take that WD-40 or other lubricating oil you may have on-hand and apply that to the bolts. Let it sit a handful of minutes and then they should easily come out!
Step #5: Install New Toilet Seat
With the old toilet seat disposed of, it’s time to get the new one installed. After removing it from the packaging, place it over the bowl and make sure everything lines up correctly. If you have a cleaning agent on-hand, it wouldn’t hurt at this stage to clean out the holes in which the bolts go through. Chances are this hasn’t been done for awhile, so now is obviously the perfect time to do so! Now back to the installation. With the seat over the bowl, run the bolts through the holes. Reach below and start securing the nuts by hand. Keep in mind that some toilet seats will come with washers as well. If that is the case with yours, put those on before the nuts. Once you get it installed as far as you can with your hands, make sure everything is functioning properly with the new seat. If so, grab the wrench and secure the bolts as tight as possible.
And wah-la! You have successfully completed your first DIY plumbing project, congratulations! As I briefly alluded to in the introduction, installing a new toilet seat is one of those quick and easy alterations that can have a significant impact on your bathroom. If you have all of the tools and material on-site, it can be completed in under an hour and won’t even cost you fifty bucks! Plus, most of the major manufacturers, like Toto, Delta and so on, have come out with various color lines to ensure you can even have some added customization on that note!
More Bathroom DIY Anyone Can Do!
If you enjoyed this fun and simple DIY project, you might be thinking about what else you can do to modernize your bathroom in an easy way! Here’s a few of our favorites that can easily be turned into a weekend project!
- New Paint Job – As you’d probably guess, a change in paint color will certainly change the aesthetic of your bathroom.
- Mirrors – This might not be possible for all existing bathroom set-ups, but if possible, adding some vintage frames with new mirrors can make an instant difference.
- Add a Shelf with Hooks – You can always find use for some shelving and hooks in a bathroom. If there is an open wall anywhere in your bathroom, consider getting artsy with a new shelf and hooks.
- Caulking – Here we have a project that could also prevent future water damage issues as well! If your tub is looking in desperate need of a caulking touch-up, consider adding that to your weekend to-do list!
Call Your Local Kansas City Plumbers!
Here at Stine-Nichols, we’re here to help out on your plumbing project, no matter what the size may be! If you have a few items on your to-do list and would like to get them knocked out in a hurry, that’s no problem at all. As always, we’re more than happy to provide you with a free quote so there’s no surprises about pricing as well. To get started, all you have to do is either fill out this contact form from our website or call our office at (816) 348-3481. We look forward to hearing from you!